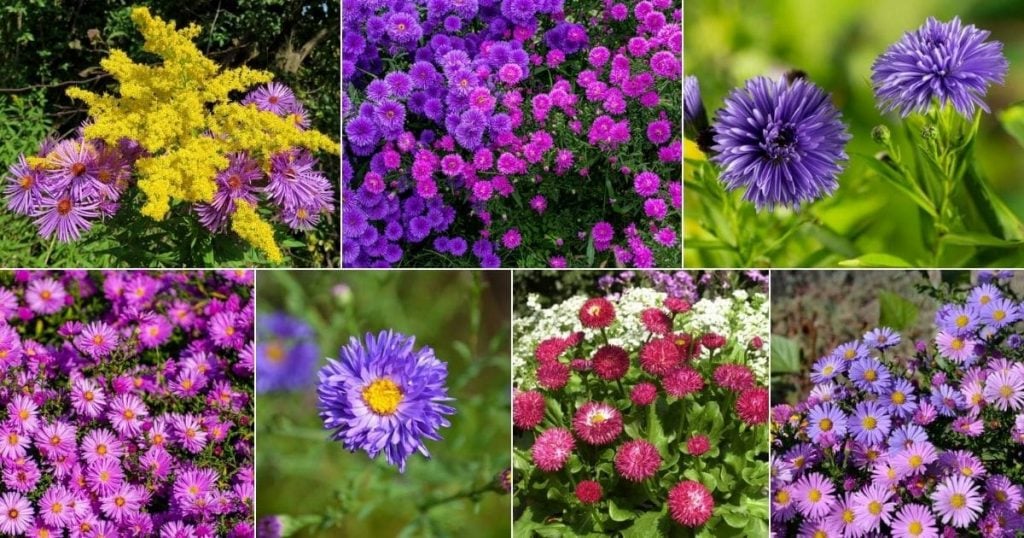
Do Asters Need Cold Stratification – Asters are vibrant, beautiful flowers that brighten gardens and landscapes. However, understanding their growth needs is crucial for successful gardening. One of the essential factors for growing asters from seed is whether or not they require cold stratification. In this article, we’ll dive deep into the topic of cold stratification for asters, exploring what it is, why it’s needed, and how to properly carry it out. 🌱
What is Cold Stratification?
Cold stratification is a process that mimics natural winter conditions to enhance seed germination. Some seeds, including many varieties of asters, have dormant seeds that need exposure to cold temperatures before they can sprout. This period of cold helps to break down the seed’s natural defenses against germination and allows it to grow successfully in the spring.
Why Do Asters Need Cold Stratification?
Asters, like many perennials, have adapted to their environments over thousands of years. They require a period of cold to germinate effectively because it ensures that they sprout at the right time in the growing season, after the last frost has passed. Without this cold exposure, seeds may remain dormant and fail to germinate, leading to poor growth or no plants at all.
Benefits of Cold Stratification for Asters
- Enhanced Germination Rates: Seeds that undergo cold stratification have a higher likelihood of germinating successfully.
- Improved Seedling Vigor: Cold-stratified seeds often produce stronger, more robust seedlings.
- Better Adaptation: Mimicking natural conditions helps seeds adapt better to their environment.
- Increased Blooming Time: Stratified seeds typically bloom earlier in the growing season.
How to Cold Stratify Aster Seeds
Cold stratifying aster seeds is relatively straightforward. Follow these steps to ensure that your seeds receive the necessary cold exposure:
Step 1: Gather Your Materials
You will need:
- Aster seeds
- Moist paper towels
- Plastic bags or containers
- Refrigerator
Step 2: Prepare the Seeds
Place the aster seeds on a moist paper towel. Make sure they are spread out evenly, allowing air circulation between them. Fold the towel over to cover the seeds completely.
Step 3: Seal and Store
Put the moistened towel with seeds into a plastic bag or container. Seal it tightly to prevent moisture loss. Then, place it in your refrigerator for about 4 to 6 weeks.
Step 4: Check Regularly
Every week, check the seeds for moisture. If the paper towel starts to dry out, lightly mist it with water. Avoid soaking the towel, as excess moisture can lead to mold.
Step 5: Plant the Seeds

After the cold stratification period, the seeds are ready to be planted. Prepare your garden bed or pots with well-draining soil, and plant the seeds according to the instructions on the seed packet, typically about 1/4 inch deep. Water them lightly and keep the soil consistently moist.
Common Mistakes to Avoid During Cold Stratification
While cold stratification can improve seed germination, there are a few common mistakes to avoid:
- Too Much or Too Little Moisture: Seeds need moisture but can mold if too wet. Keep the paper towel damp, but not soaked.
- Not Enough Time: Some seeds may require longer stratification periods. Always check the seed packet for specific recommendations.
- Ignoring Temperature Variations: The ideal temperature for stratification is around 35-40°F (1-4°C). Ensure your refrigerator maintains this temperature.
Are There Any Aster Varieties That Don’t Need Cold Stratification?

While most asters benefit from cold stratification, some varieties, especially hybrids, may not require this process. It’s essential to research specific varieties of asters to determine their germination needs. Check the seed packaging or consult with local gardening experts if you’re unsure.
Cold Stratification vs. Other Germination Techniques
Cold stratification is just one method of germinating seeds. Here’s a comparison of cold stratification with other techniques:
| Technique | Description | Best For |
|---|---|---|
| Cold Stratification | Imitates winter conditions to break seed dormancy. | Seeds requiring cold exposure like many perennials. |
| Soaking | Seeds are submerged in water to speed up germination. | Seeds that respond well to hydration, such as peas. |
| Scarification | Mechanical or chemical treatment to break seed coats. | Hard-coated seeds that need help breaking through. |
| Direct Sowing | Planting seeds directly into the soil without prior treatment. | Seeds that do not require special conditions. |
Tips for Successful Aster Cultivation
Here are some additional tips to help you successfully grow asters:
- Choose the Right Location: Asters thrive in full sun to partial shade. Ensure they receive at least 6 hours of sunlight daily.
- Water Wisely: Water the seedlings consistently, allowing the soil to dry slightly between waterings to prevent root rot.
- Fertilize Sparingly: Asters don’t require heavy feeding. Use a balanced fertilizer during the growing season, but avoid excessive nutrients.
- Prune and Deadhead: Regularly deadhead spent flowers to encourage more blooms and prune the plants as needed for better airflow.
Important Note: Always refer to the seed packet for specific instructions related to germination and care for your particular aster variety.
Signs of Successful Germination
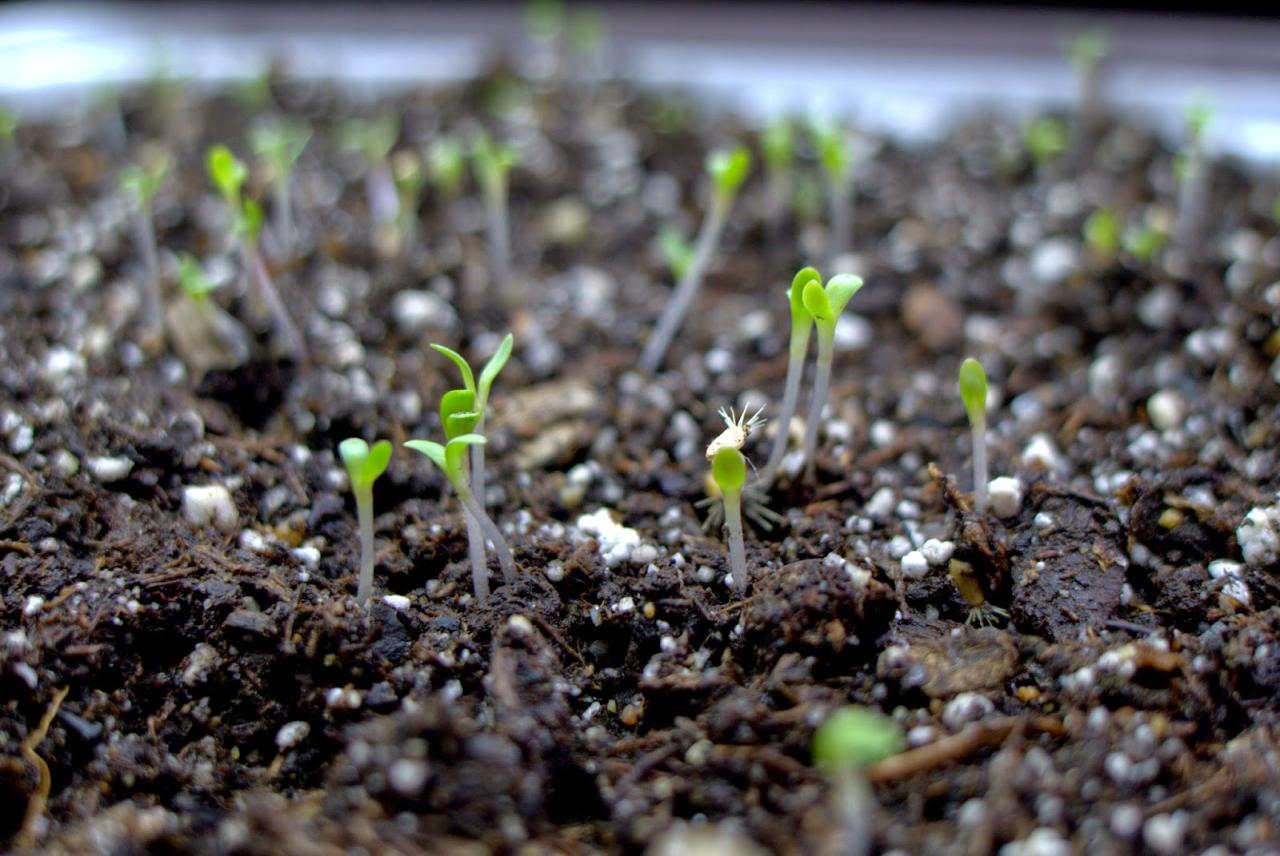
After planting your cold-stratified seeds, it may take several weeks for them to germinate. Look for the following signs of successful germination:
- Seedlings emerging from the soil surface.
- Healthy green leaves beginning to develop.
- Root systems establishing below the surface.
Common Challenges in Growing Asters
Like all plants, asters can face challenges that impact growth. Here are some common problems and solutions:
Pests and Diseases
Asters can be susceptible to pests such as aphids, slugs, and spider mites. Regularly inspect your plants and treat infestations promptly with organic insecticides or neem oil.
Environmental Stress
Extreme weather conditions, such as drought or heavy rainfall, can stress asters. Mulching around the plants can help maintain soil moisture during dry spells.
Overcrowding, Do Asters Need Cold Stratification
If asters are planted too close together, they may compete for resources. Ensure adequate spacing to promote healthy growth and airflow.
Note: Regularly monitoring your asters for signs of stress or damage will help you catch problems early and ensure a thriving garden.
Conclusion: Do Asters Need Cold Stratification
Understanding the cold stratification process is essential for successfully growing asters from seed. This step not only ensures higher germination rates but also fosters healthier plants ready to thrive in your garden. By following the guidelines Artikeld in this article, you can enjoy the stunning beauty of asters and enhance your gardening skills. 🌼 Happy gardening!
